A leaking pool can not only lead to water wastage but also cause potential damage to your property and hefty repair bills. Fortunately, one can accurately identify even the most minor leak through the mastery of dye testing techniques, saving time and money and the inconvenience of extensive troubleshooting.
Dye testing for leaks in a swimming pool is a method that we will explore in detail, explaining each step along the way so that you have all the information you need to locate and fix any leaks as soon as possible.
Let’s jump in and make sure your pool stays chill and fun without stressing about sneaky leaks.
Why Dye Test?
While the dye test is unquestionably a valuable weapon in a pool owner’s arsenal, it is crucial to note that it may not always provide a definite solution for locating mysterious leaks. Nonetheless, when employed judiciously, a dye test offers an efficient strategy for identifying potential leaks within your pool.
Conducting a pool dye test is a straightforward and expeditious method to assess leakages. The fundamental principle is easily understandable: Due to its greater density, the dye tends to gravitate more swiftly toward the leak than water.
This procedure helps pool owners locate the leak’s source for fast, accurate repairs.
What You’ll Need To Dye Test For A Pool Leak
Performing a thorough pool leak dye test requires the right tools in your arsenal. Gathering the required tools may guarantee an accurate and efficient detection process. Here’s a rundown of what you’ll need:
Pool Leak Dye Solution
Acquire a high-quality pool leak dye solution, preferably non-toxic and formulated for leak detection. These dyes are designed to be highly visible. They can swiftly pinpoint the source of leaks, whether minor or more substantial.
Syringe or Squeeze Bottle
A syringe or squeeze bottle is a precise application tool for the dye solution. This tool lets you introduce the dye directly to potential leak areas without unnecessary spillage or waste.
Pool Skimmer or Brush
Have a pool skimmer or brush on hand to aid in the even distribution of the dye and ensure proper circulation. This tool will help disperse the dye uniformly across the pool’s surface.
Gloves
While pool leak dye solutions are generally safe, wearing protective gloves when handling chemicals is a good practice. Nitrile or latex gloves can safeguard your skin and prevent any unintended reactions.
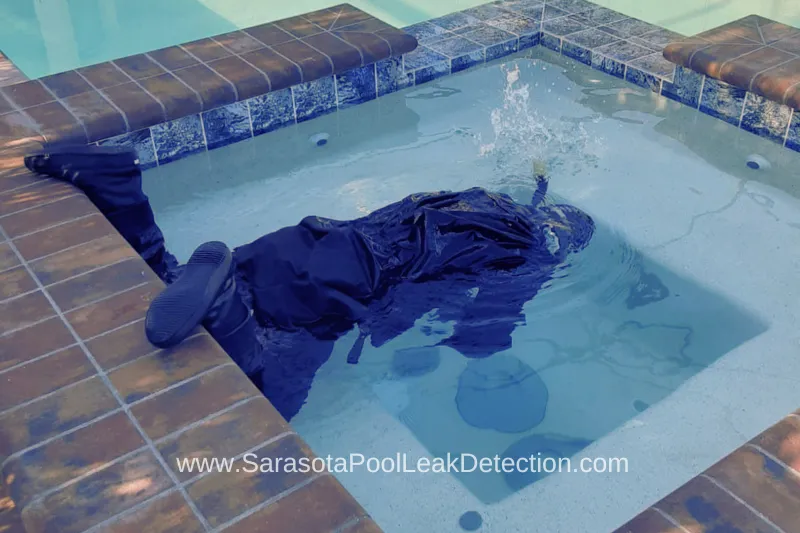
Pool Water Access
You’ll need to access the pool water for the test. Ensure you have a safe and convenient way to reach all parts of the pool’s surface, including the walls and floor.
Good Lighting
The dye must be visible as it moves toward a potential leak. Therefore, adequate lighting is essential. Perform the dye test during daylight hours or under well-lit conditions to enhance visibility.
Patience and Keen Eye
While not a physical tool, patience, and keen observation are essential. When performing the dye test, take your time and keep an eye out for any strange patterns or motions that can point to a leak.
If you assemble these necessary items, you’ll be well-prepared for a successful pool leak dye test. You can quickly detect leaks and take preventative action to keep your pool’s structure and water contained with proper planning and attention to detail.

Dye Test For A Pool Leak Step-by-Step Guide
Detecting and addressing leaks in your pool early can save you from potential headaches and expenses. One effective method for leak detection is the pool leak dye test. For a successful dye test, adhere to the steps listed below.
Step 1: Preparation
Before you begin the dye test, ensure you have all the necessary tools and materials, including the pool leak dye solution, syringe or squeeze bottle, pool skimmer or brush, protective gloves, and access to the pool water. Choose a sunny day or ensure proper lighting to enhance dye visibility.
Step 2: Dilute the Dye Solution
If the dye solution is concentrated, dilute it per the manufacturer’s instructions. This step will ensure the chemicals are spread well and can be seen without ruining the pool.
Step 3: Turn off the Pool Equipment
To prevent any disturbance to the dye’s flow, turn off the pool’s circulation system, including pumps and filters.

Step 4: Apply the Dye
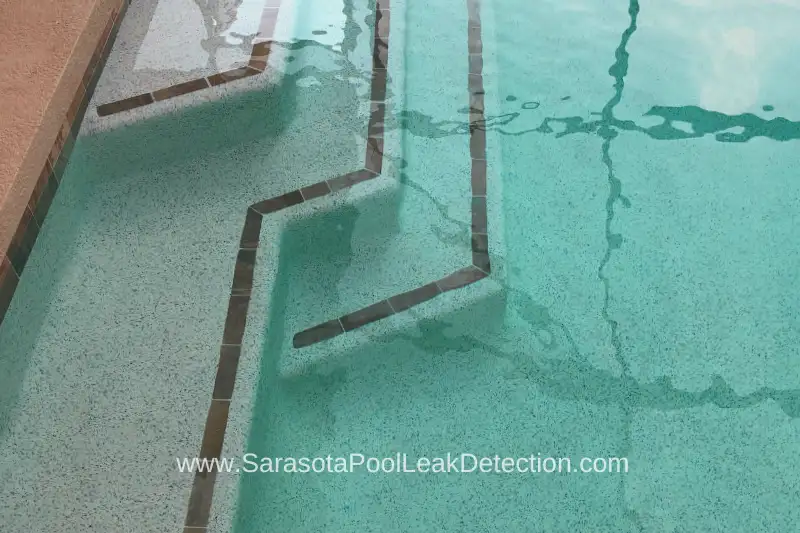
Fill the syringe or squeeze bottle with the diluted dye solution. Stand at various points around the pool’s perimeter, including near suspected leak areas, return jets, lights, and steps. Carefully squeeze a small amount of dye into the water while observing any changes.
Step 5: Observe the Dye’s Movement
Observe how the dye reacts to the water. The dye will be drawn towards it if there’s a leak due to the pressure difference. It might form a visible stream or get pulled into the leak source.
Step 6: Document the Findings
Note the area where the dye was applied and any findings from the test. The leak’s location can be located with the help of this log.
Step 7: Repeat the Process
Apply dye to various poolside locations again, paying particular attention to potential leaky places. Be thorough and patient when covering all probable leak spots.
Step 8: Analyze the Findings
If you observe the dye being pulled into a specific area, it’s a strong indicator of a leak. The mobility of the color will assist you in locating the leak.
Step 9: Address the Leak
Once the leak has been located, you can start the necessary repairs. Whether it’s a crack, gap, or faulty seal, addressing the issue promptly can prevent further damage.
Step 10: Monitor and Repeat if Necessary
After repairs, check the pool’s water level frequently. If the leak persists, you might need to repeat the dye test to ensure all leaks are successfully identified and fixed.
You may successfully carry out a pool leak dye test by following these instructions and learning essential details about the health of your pool. Keep in mind that proactive leak detection can help to maintain a pool area that is functional and pleasurable.
Please include attribution to https://sarasotapoolleakdetection.com with this graphic.
What Indicators Point to a Pool Leak?
Performing a dye test to detect pool leaks is essential, but understanding the signs that follow the test is equally important. After completing the dye test, keep an eye out for the following indicators that may suggest the presence of a pool leak:
Persistent Water Loss
Suppose you notice that your pool’s water level continues to drop despite not using the pool or experiencing evaporation. In that case, it’s a vital sign of a leak. Regularly monitor the water level and compare it to your previous observations.
Unexplained Wet Spots
After the dye test, inspect the area around the pool for wet spots or damp patches. Leaks can sometimes manifest as water accumulation near the pool’s perimeter or equipment.
Uneven Pool Chemical Levels
Leaks can thin the water in the pool, causing chemical imbalances. It could indicate a leak if you use more chemicals than usual to maintain water quality.
Cracks or Settling
Observe the pool’s structure, including the deck and surrounding areas, for cracks, sinking, or settling. Leaks in the ground that change the stability of the dirt can cause these problems.
Higher Utility Bills
A hidden leak can result in consistently higher water bills due to the continuous water loss. If your water bills are unexpectedly rising, it’s time to investigate potential leaks.
Unusually Lush Plant Growth
While it might seem counterintuitive, leaks can sometimes provide extra moisture to the soil, leading to unusually lush vegetation or grass around the pool area.
Whirlpool Impact
During the dye test, if you notice a whirlpool impact or water turbulence in a specific area, it indicates water movement that a leak might cause.
Temperature Drop in the Pool
Leaks can introduce more excellent groundwater, causing a noticeable pool temperature drop. If the water feels colder than usual, consider it a clue to a possible leak.
Structural Damage
Inspect the pool’s structure for signs of wear and tear, such as cracked tiles, missing grout, or deteriorating concrete. These can be a result of leaks.
Algae Growth
Leaks can make it hard to keep the pool clean because they stop the water from moving around. A leak might be a contributing factor if you notice persistent algae growth despite regular maintenance.
Learn more about pool leak detection and signs to look out for in our article on “How to Quickly Find a Pool Leak Yourself.”
After conducting a dye test, being vigilant about these signs will help you detect and address leaks promptly. Remember that even a tiny leak can lead to significant water loss and potential damage if left unchecked.
You can keep your pool pleasurable without worrying about hidden leaks if you stay proactive.
Mastering the art of dye testing for pool leaks empowers you to take proactive measures to maintain your pool’s health and integrity. Identifying leaks early can save you from unnecessary expenses and potential damage to your property.
By following the step-by-step guide and staying vigilant for the signs we’ve discussed, you’ll be well-equipped to tackle leaks head-on.
If you’ve discovered a leak or suspect one in your pool, don’t hesitate to take action. Your pool’s longevity and your peace of mind depend on it. We’re here to help. Call us today at (561) 570-1269, and we’ll connect you with a reputable pool repair and renovation company in your area.
Our experts are ready to assist you in keeping your pool a source of relaxation and enjoyment, free from the hassles of leaks. Don’t wait – make the call now!